
Book Creator App
These are the steps we'll go through:
- Create a new book
- Choose the book shape
- Add your name
- Style the text
- Add a selfie
- Record a voice message
- Change the background
1. A new book
First, click on the New Book button in the top right of the toolbar.
![]()
2. Choose the shape of your book
Now you need to choose the shape of your book - portrait, square or landscape. The numbers beneath the shapes refer to the size ratio. At this point you can also choose whether to work the basic templates, or the comic templates. For this guide we're choosing a basic template. Note: you cannot change the shape of a book once you've chosen it.

3. Add content with the + button
Let's start with your name. Press the + button in the top right of the toolbar and choose Text.

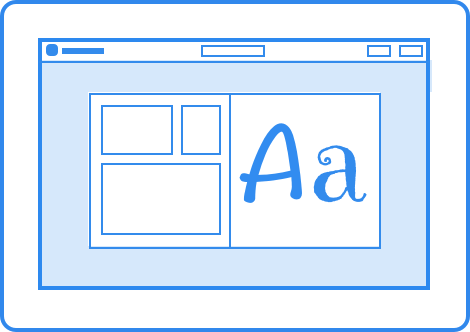
4. Styling your text
Type your name into the popup box and then click Done. The text appears with a blue box around it, which means it's selected. Now you can move it around or rotate it with the green handle.

Whilst the text is selected, click on the i button (Inspector). Here's where you can resize the text, change the font, color, and various other styles.
t's also useful to know that if at any time you make a mistake, you can click the Undo button in the toolbar to undo the last action.
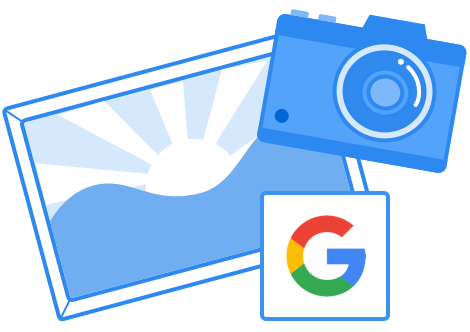
5. Add a photo
It wouldn't be an 'About me' book without a selfie. Click on the + button again and this time choose Camera. Click on the Take Picture button when you're ready (don't forget to smile 😀).

Once it's added to the page, you can use the handles to resize and position the photo.
6. Record your voice
To make things really personal, let's record a short message telling the reader how you're feeling today. Click on the + button again and now click Record. Click the Start Recording button when you're ready. Wait for the countdown, then record your message and click Stop Recording when you're done.

When you're finished, you can move the audio hotspot around, and resize it if you need to. To listen to your recording, just click on the audio hotspot icon.
7. Change the background
The last step is to choose a suitable background for your book. Click on the Inspector (i) and make sure you have the Page tab selected. Choose one of the solid color backgrounds or one of the decorative patterns, borders or papers.

8. Rename your book
Click the 'My Books' button in the toolbar to go back to your bookshelf. Make sure you give your book a title. By default it will be called 'A New Book' - just click on the title and you can type in a new one.


Hi Christina, Thank you for sharing! I am going to try to use this with my ELL students next year. I think the students will love the way that they can use pictures of themselves with this application.
ReplyDeleteAs i told you when we spoke about this, I didn't know this tool! I think you should mention it to Priscilla. It goes along with her project on kids' identities so nicely! THanks for sharing this!
ReplyDeleteThis resource looks really cool! I hadn't heard of it until your presentation. Last year, I did a storyboard project with my sixth-graders. They loved making the graphics and using the computer to complete the assignment. This site gives me a lot of creative ideas for them. Thanks for sharing!
ReplyDelete